A Method for Making Typewriter Looking Keys
From Jeweled Brads
Copyright 2011 by James P. Riser
This is a modification of an idea I found on the web
using slightly differently made brads. This method will work with
brads that I have found in the United States.
The brads start out like this (16mm size) 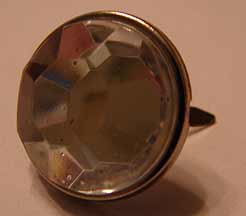 Actually the facets look OK, there was a strange reflection
when I took the picture.
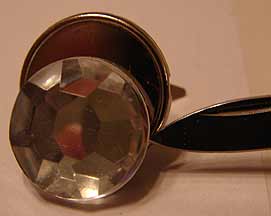
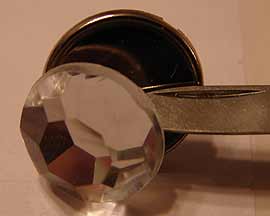
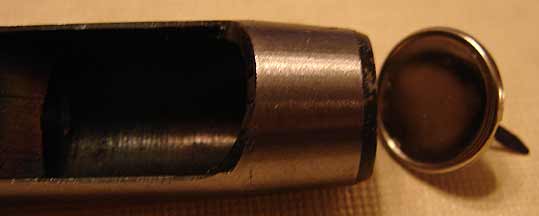
The first step is to pry the gem away from its metal
backing. It is just lightly glued to the metal brad plate.
Actually the facets look OK, there was a strange reflection
when I took the picture.
The first step is to pry the gem away from its metal
backing. It is just lightly glued to the metal brad plate.
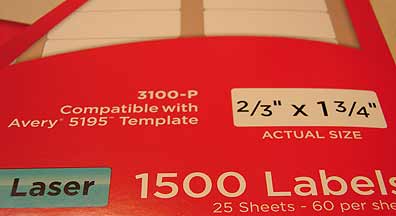
 These are the folder tab labels that I used. For this
example I printed the numbers on my laser printer. For some items
I will hand calligraphy them.
Notice that permanent adhesive labels were used - not
removable.
These are the folder tab labels that I used. For this
example I printed the numbers on my laser printer. For some items
I will hand calligraphy them.
Notice that permanent adhesive labels were used - not
removable.

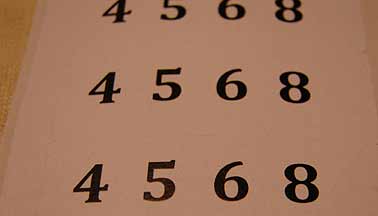 A few printed labels
looked like this.
I used long lasting storage tape for this example.
Library tape is also good.
A few printed labels
looked like this.
I used long lasting storage tape for this example.
Library tape is also good. 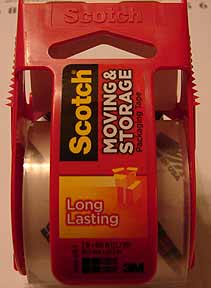
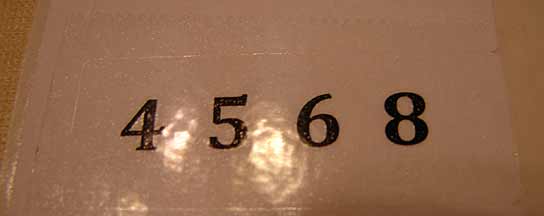 Tape is put onto
the label.
This is the hole punch set I used.
Tape is put onto
the label.
This is the hole punch set I used. 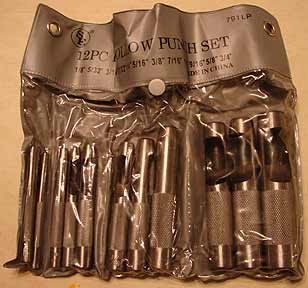
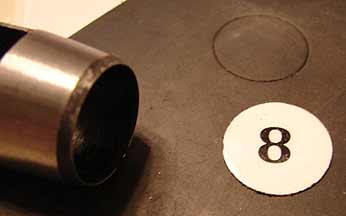
 I used the 9/16"
punch.
A rubber pad was placed under the label sheet. A nylon
pounding pad is better and wood end grain is fine. None of these
will dull the punch.
The punch is centered over the desired number and tapped
with a hammer.
I used the 9/16"
punch.
A rubber pad was placed under the label sheet. A nylon
pounding pad is better and wood end grain is fine. None of these
will dull the punch.
The punch is centered over the desired number and tapped
with a hammer. 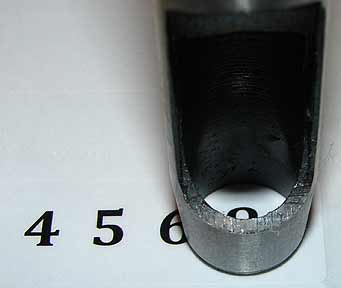
 The result is a
round tape protected label.
Notice the hole part way through the rubber. This is
why a nylon poundng board or wood end grain is better. I was too
lazy to haul out my pounding board.
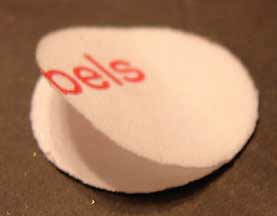
The backing paper of the label got removed next...
The result is a
round tape protected label.
Notice the hole part way through the rubber. This is
why a nylon poundng board or wood end grain is better. I was too
lazy to haul out my pounding board.
The backing paper of the label got removed next...
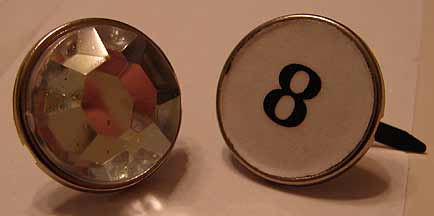
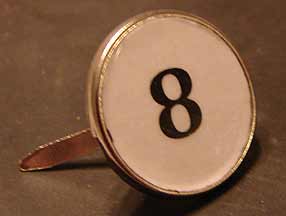 ... and the label applied to the
brad plate. Done!
The brad clips may be used or cut off as needed. If
an aged look on the labels is desired, the labels may be "dusted"
with colored ink using an airbrush.
If this info was of any use, please drop me an email. No emails = no
more such tips.
... and the label applied to the
brad plate. Done!
The brad clips may be used or cut off as needed. If
an aged look on the labels is desired, the labels may be "dusted"
with colored ink using an airbrush.
If this info was of any use, please drop me an email. No emails = no
more such tips.