A1 - beginning gear cutting

Copyright 2011 by James P. Riser
The largest gear in this project (2 3/4" diameter
blank) got mounted in a pot chuck for center drilling.
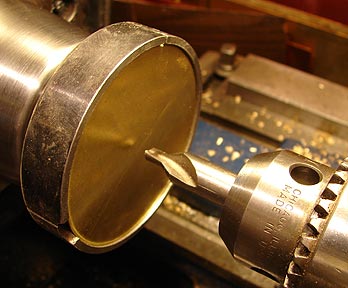
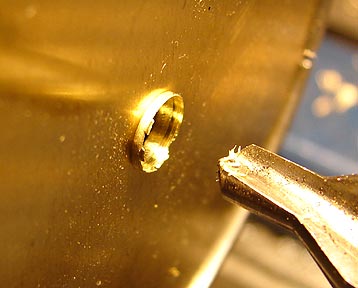
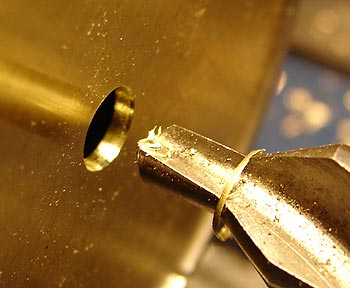
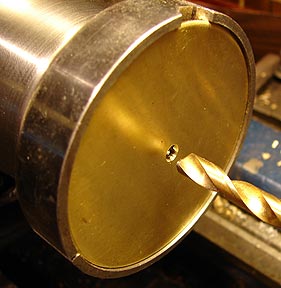 This hole drilling leaves a bur on the backside of
the blank which must be removed. I do this by gently touching
a center drill to the swiftly spinning brass disc. The bur pops
off as a ring (seen on the drill tip). After this, the blank is
ready to have teeth cut.
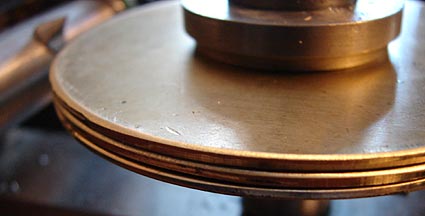
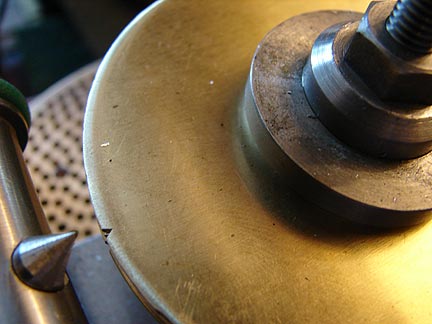
 The brass blanks are next stacked (3 hign) for a quick
notching by the fly cutter.
This notch will come in handy later when centering
the actual wheel cutter.
 In order to mount the wheel cutter, the cutter spindle
must be removed from the cutting frame of the wheel engine.
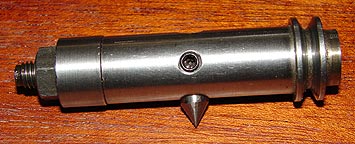 The left end is
loosened to accept the cutter.
 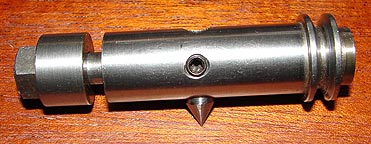 The correct wheel cutter for the module I need on this
project is mounted onto the cutter spindle. The 60 degree pivot
bearing for this spindle may be seen at the end of the axle.
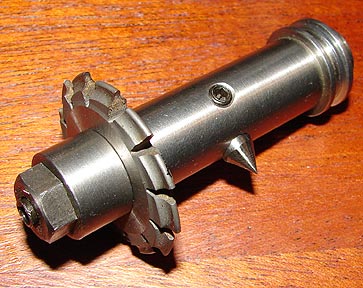
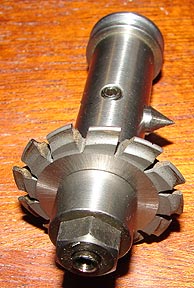 The previously made notch in the gear blank is used
to center the cutter with the axis of the wheel engine itself.
This is critical or the gear teeth will be crooked/off center.
To do this centering, the entire cutting frame is slid then locked
into position.
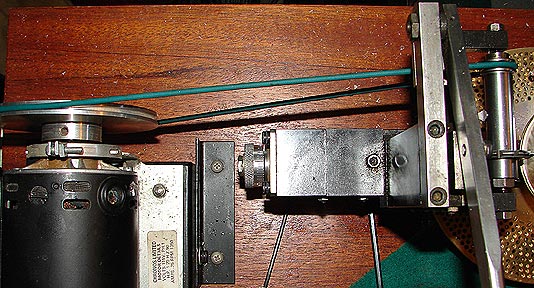
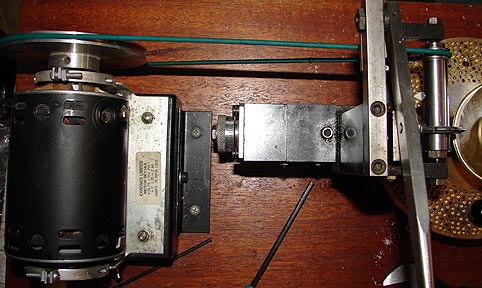
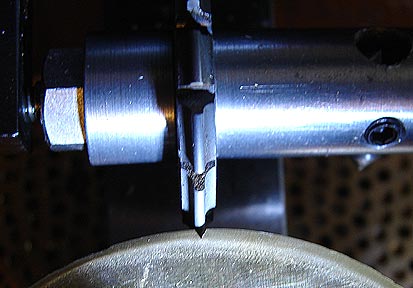 Adjusting the cutting frame causes the drive belt to
go out of alignment. If this is not fixed, the belt will jump
the pulleys. Fortunately the wheel engine was designed to slide
the motor back and forth to make this adjustment. The picture
on the right below shows the belt realigned.
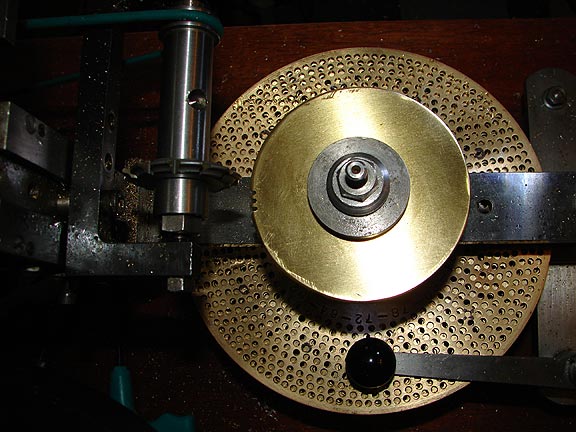
 The cutting of the teeth can now be started. In cutting
these teeth the cutting frame with its spinning arbor/cutter may
be raised and lowered, as well as, moved in for deeper cuts.
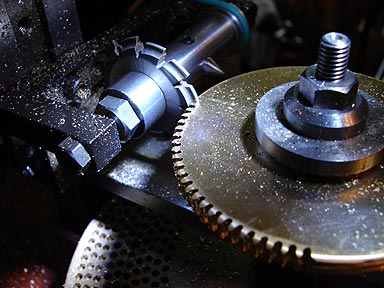
 Here is a closeup of the teeth being cut into the three
.064" thick brass discs.
  Below is a series of progress pictures of the gear
cutting.
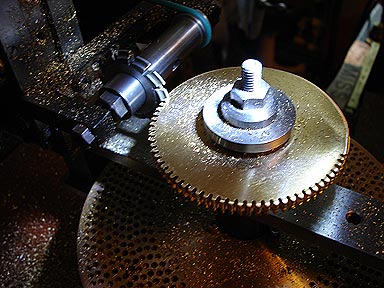
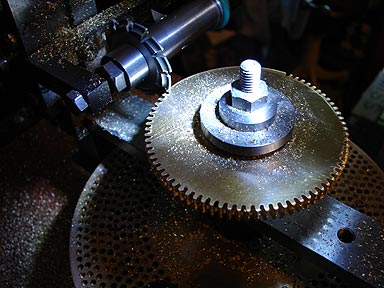
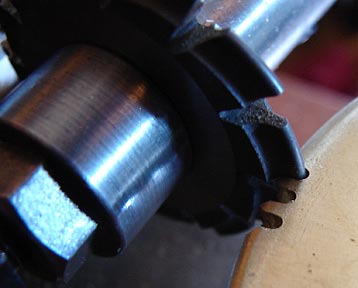
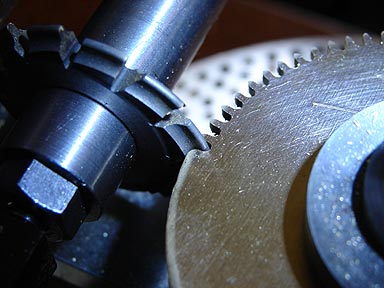
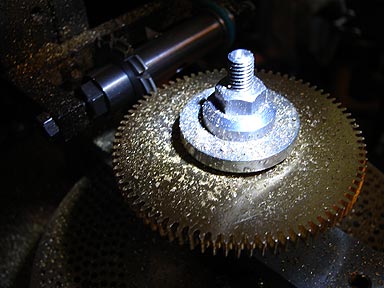 This is the shape of the gear teeth.
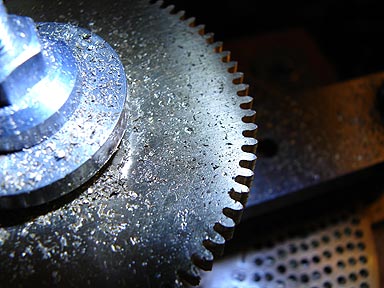
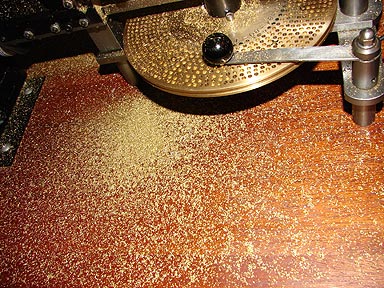 Here is another
view of the teeth.
800 teeth later ...
 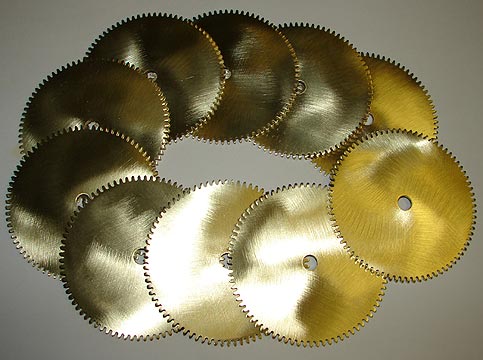 I
am making parts for several items.
The second wheel (smaller and with less teeth) was
cut in the same manner.
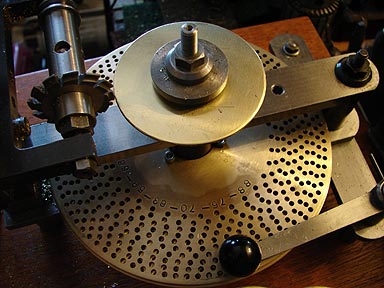
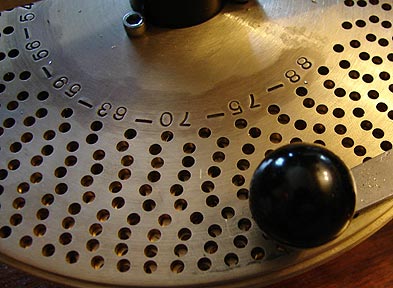 I needed to cut
75 teeth on this wheel and switched index plates.
The brass blanks were prepared as shown for the barrel
wheel.
 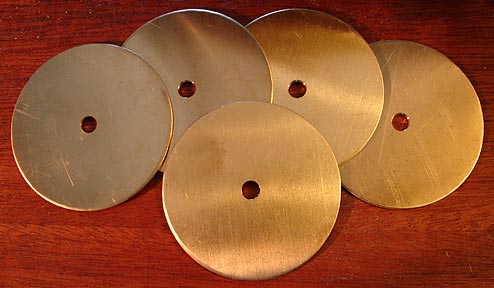 Cutting was then started.
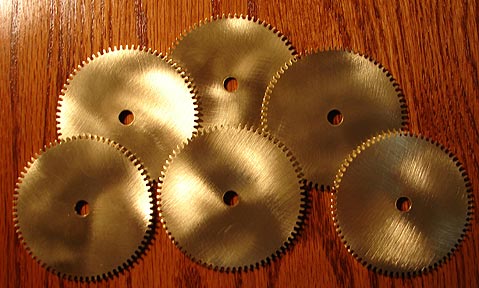 The completed second
wheels look like this.
Click here to go to page 1
Click here to go to page 3


 The left end is
loosened to accept the cutter.


 Here is another
view of the teeth.
 I
am making parts for several items.
 I needed to cut
75 teeth on this wheel and switched index plates.


 The completed second
wheels look like this.